How to setup and manage redirects
A redirect is a way to automatically send visitors from one URL to another.
This can be useful for various reasons, such as when you change your site's permalink structure, move content to a new location, or want to direct users from an old URL to a new one. Redirects are commonly used to ensure that visitors and search engines can still access content even if its URL has changed.
WordPress offers various methods for implementing redirects. For this example, we will use a plugin called Redirection. Redirects are essential for maintaining a good user experience and preserving SEO value when making changes to your website's structure or content.
Defining the redirect rule with Redirection and Simply Static
To create a redirect using the WordPress Redirection plugin, follow these steps:
- Make sure a page or post exists in WordPress with the same URL that you are redirecting:
- For redirections, Simply Static creates a folder and index file for each rule that you create if a page/post with the matching URL of the source exists. For example, if you would like to redirect an About page with URL example.com/about, you would need to make sure a placeholder page/post for About exits (a WP page that has the same slug as the source).
- Install and Activate the Redirection Plugin:
- Go to your WordPress dashboard.
- Navigate to Plugins > Add New.
- Search for "Redirection" plugin.
- Install and activate the plugin.
- Navigate to the Redirection Settings:
- After activating the plugin, go to Tools > Redirection.
- Create a New Redirect:
- In the Redirection settings, you'll find an option to add a new redirect. Click on it.
- Enter Redirect Details:
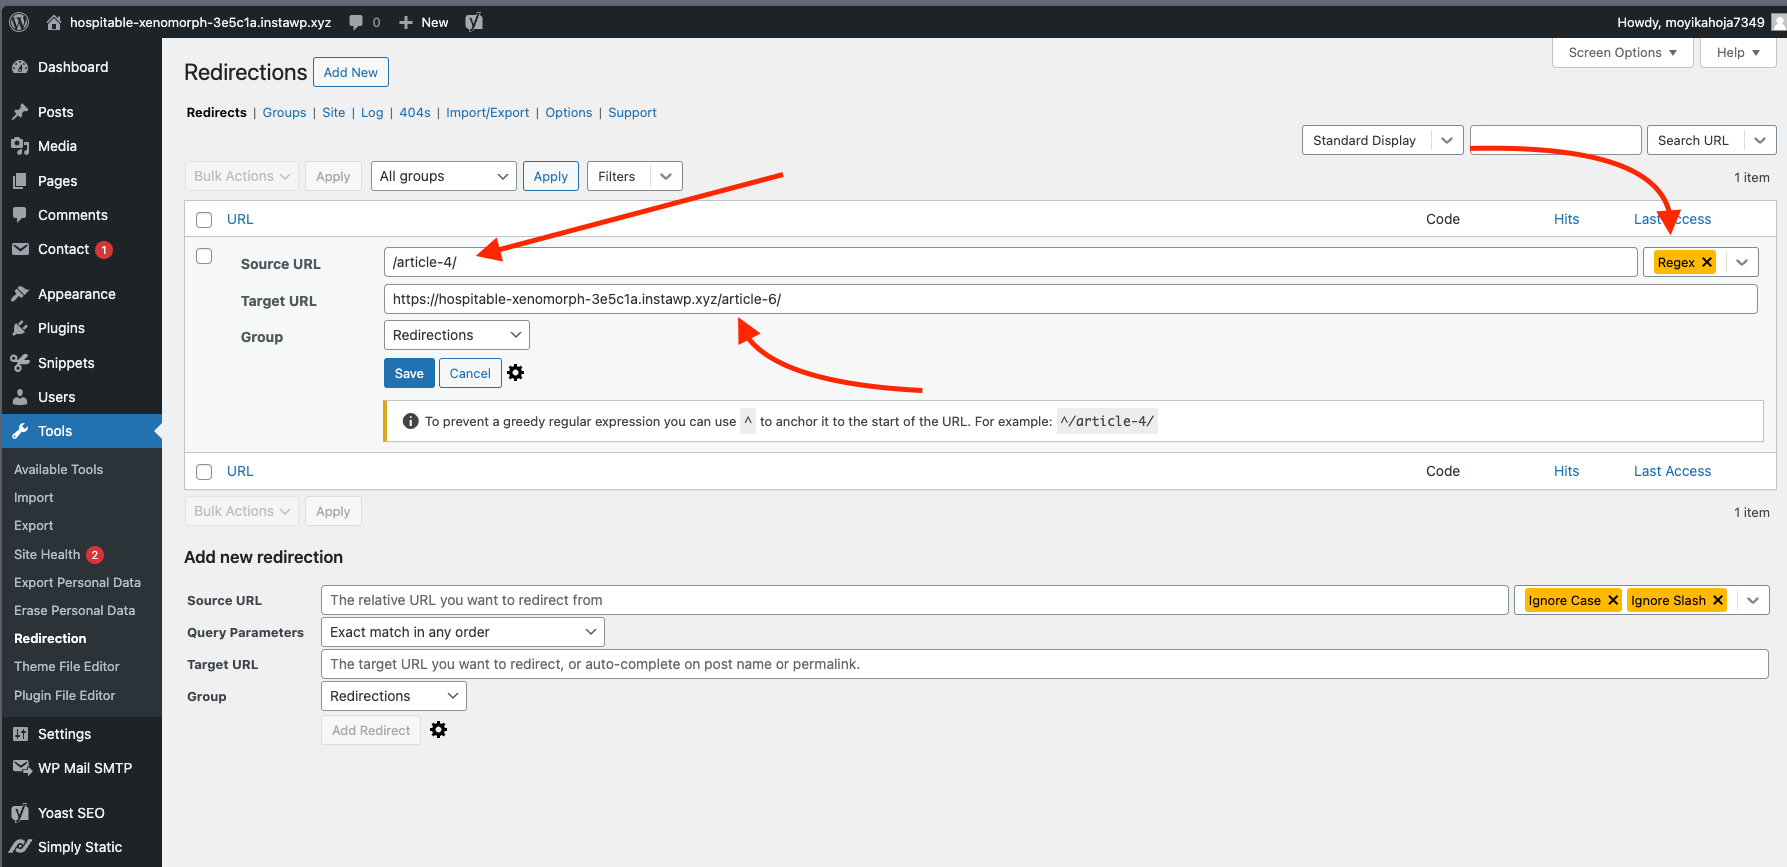
- You'll see fields like Source URL and Target URL.
- In the Source URL field, enter the URL you want to redirect from.
- In the options download for Source URL select "Regex"
- In the Target URL field, enter the URL you want to redirect to.
- You can also choose the redirect type (301 Permanent, 302 Temporary, etc.) from the dropdown menu.
- Save the Redirect:
- After entering the details, click on the "Add Redirect" button to save your changes.
- Test the Redirect:
- Open a new browser tab and enter the source URL.
- You should be automatically redirected to the target URL.
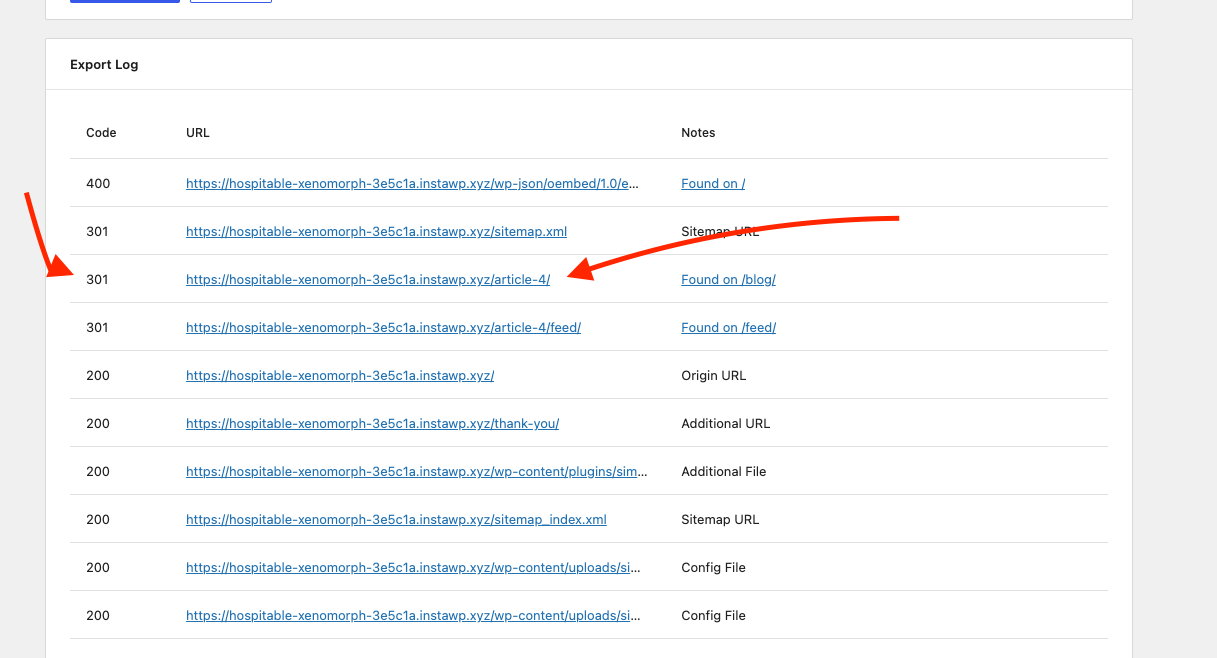
- Run a new full static build or a single page/post build in Simply Static
- Export the page or full site so the redirect rule is created on the static page.