Deploy to Cloudflare Pages
What is needed: Simply Static Pro
Simply Static allows exporting your static website to Cloudflare Pages.
What is Cloudflare Pages?
Cloudflare Pages is a free and reliable static hosting provider provided by Cloudflare.
GitHub
Preparing the GitHub Integration
To export your static website to Cloudflare Pages, you need the GitHub integration from Simply Static. Create an account at github.com and configure your personal access token, as shown in the documentation here.
Once that's done, you can switch back to WordPress and go to Simply Static -> Settings-> Deployment and select "GitHub" as a deployment option:
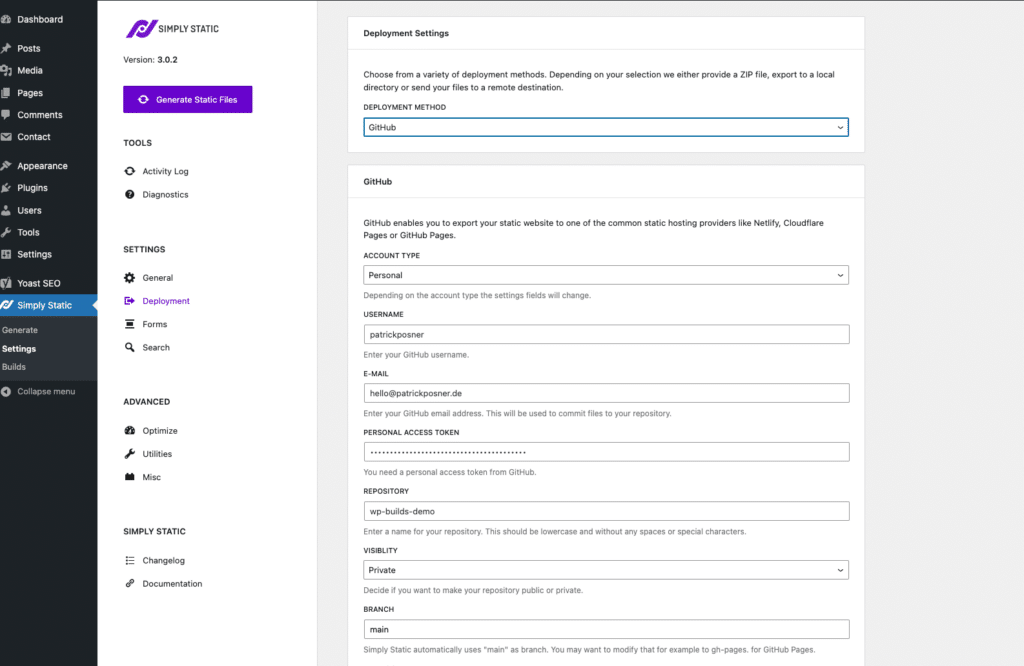
As shown in the GitHub integration documentation, you need to fill out the following setting fields:
- Account Type (Personal or organization)
- Username
- Personal Access Token
- Repository
Exporting files to GitHub
Now that we have everything configured, you can click on "Generate Static Files" in the top-left corner of the Simply Static Settings:
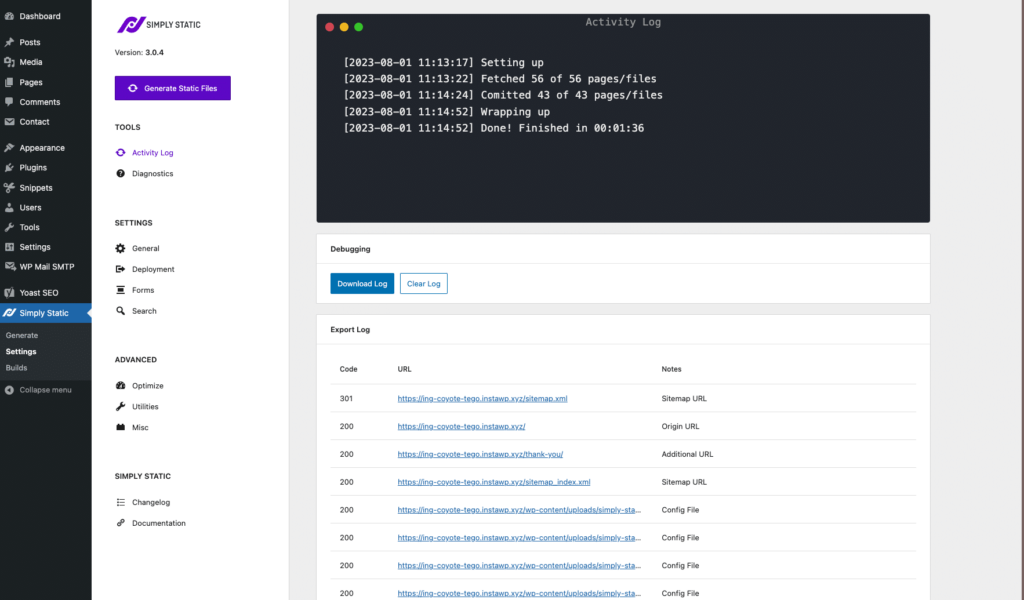
Finishing the export will take some time, but you can always view the current progress in Simply Static -> Settings -> Activity Log.
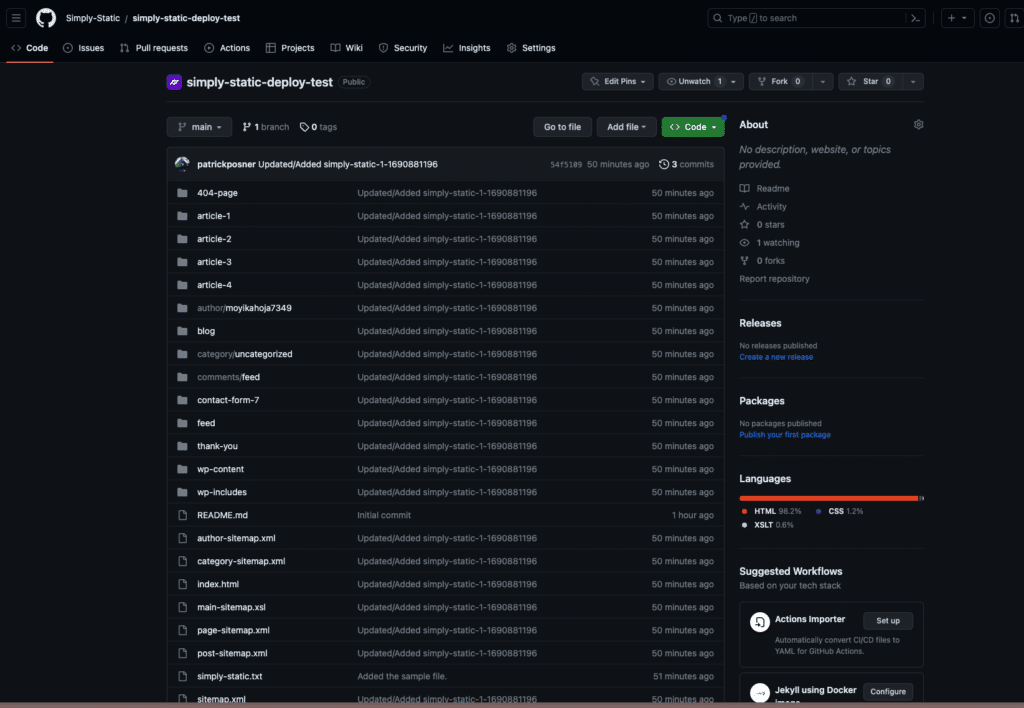
Once the export is finished, all your static files will be exported to your configured GitHub repository. If you check your account, it should be similar to this:
Getting Started with Cloudflare Pages
If you already have a Cloudflare account, you can use that to log into Cloudflare Pages. If not, sign up here.
Once logged in, choose a zone from your account and navigate to "Workers & pages":
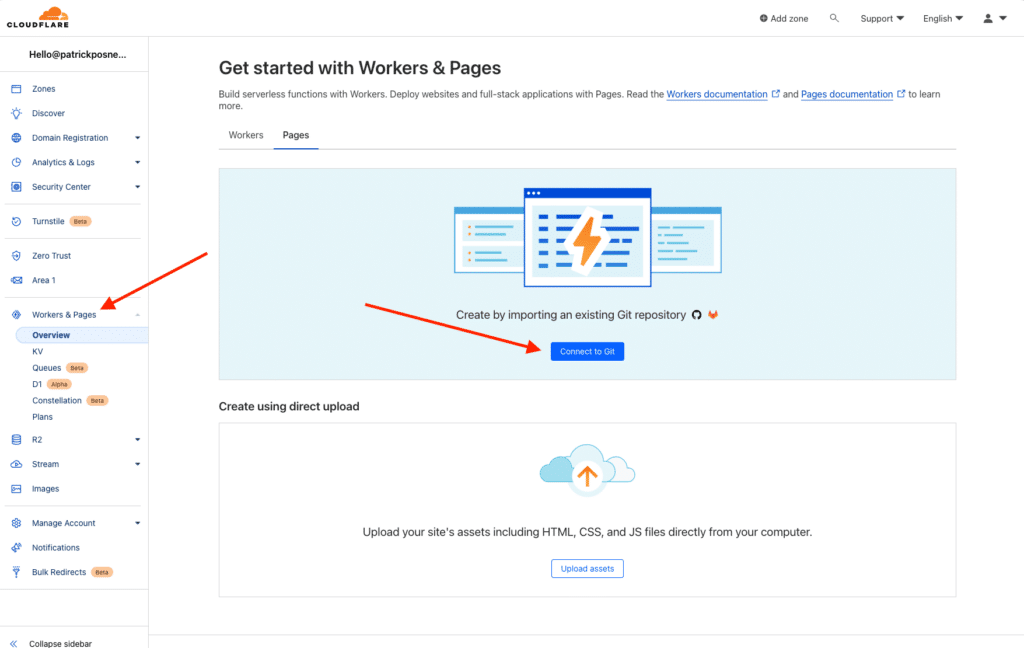
Connect GitHub account
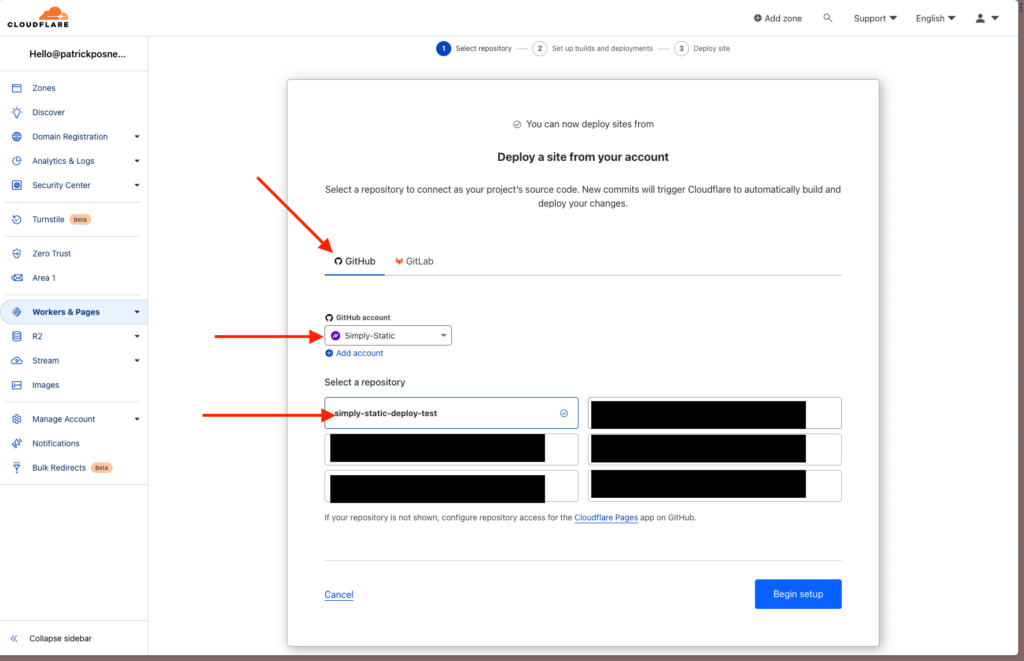
The first step is connecting your GitHub account and selecting the repository which you want to deploy as a static site.
The process is straightforward, you get redirected to GitHub, confirm your password, and everything is connected.
Select your repository and click on "Begin Setup":
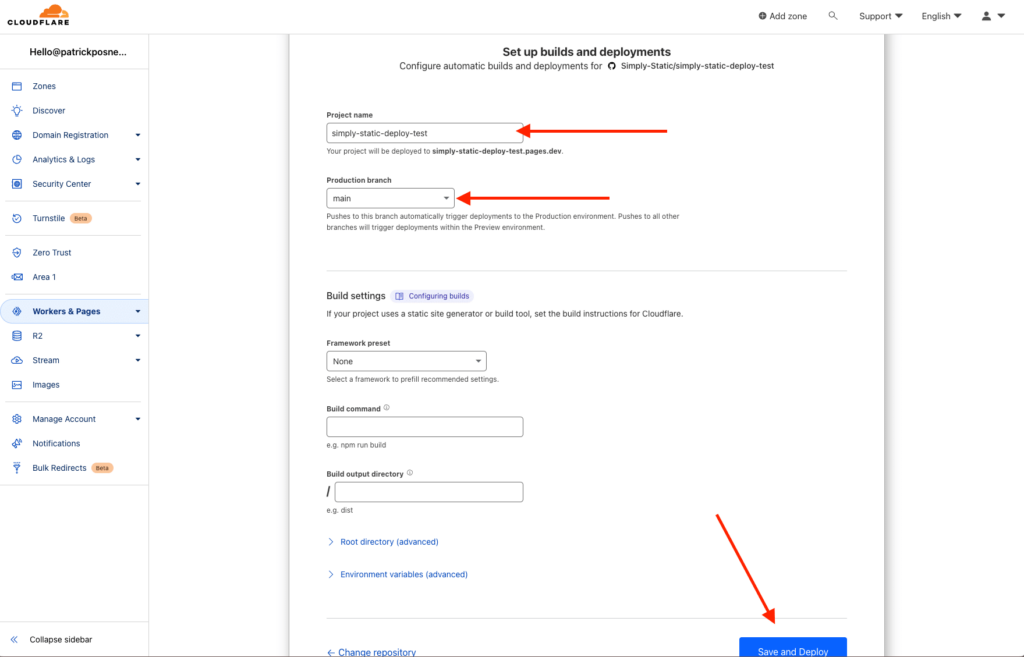
Setup deployment
In the next step, you must set a project name (or leave it as the repository name) and select a branch ("main" is the default branch created by Simply Static).
You can skip the rest of the settings and click on "Save and Deploy":
Deployment running
Once you clicked the button, the deployment will happen in real time:
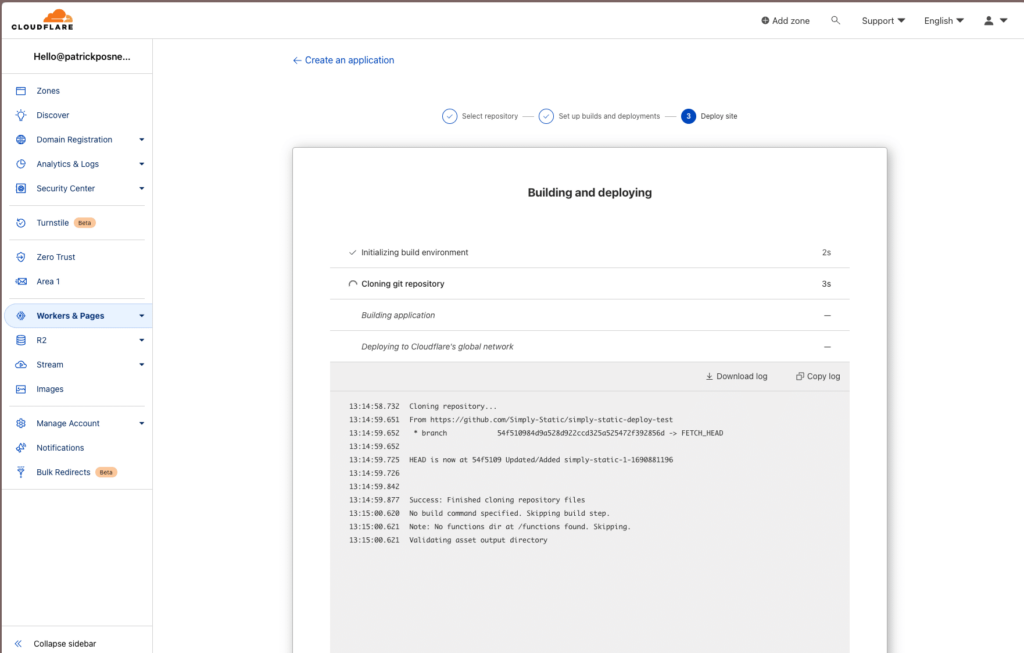
Once done, you get redirected to the project overview. You can see your temporary domain, see the latest deployment, and a couple of additional information.
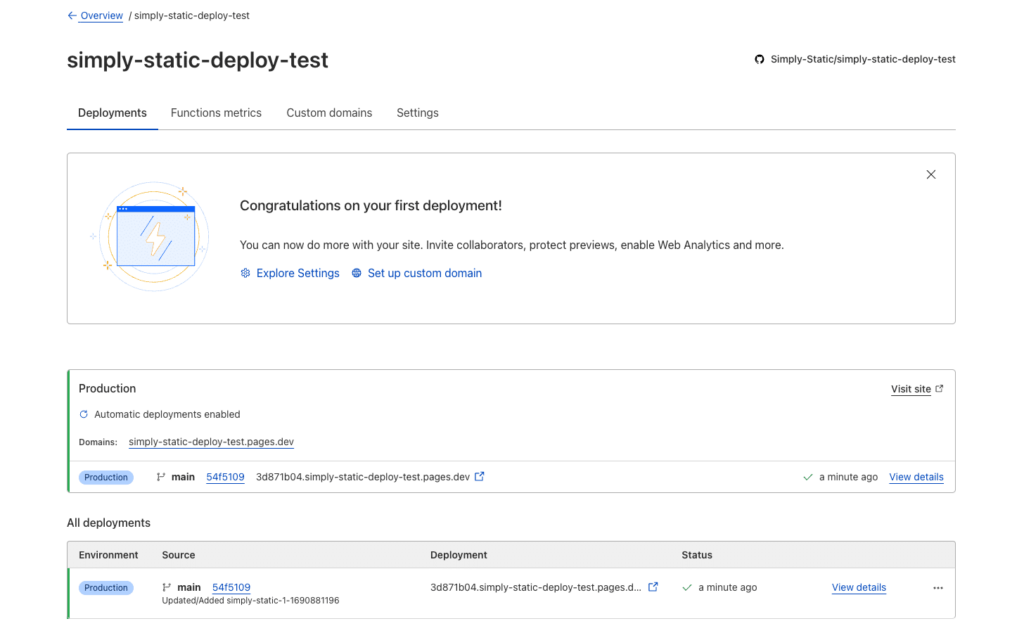
Each time you push an update from Simply Static to GitHub, Cloudflare Pages will start a new build and deploy all the changes to your static website.
There is nothing left to do for the purpose of this tutorial now, but you can learn more about Cloud Flare Pages in the documentation right here.